 Cleaning Chemicals & Equipments
 Commercial Cleaning Machines
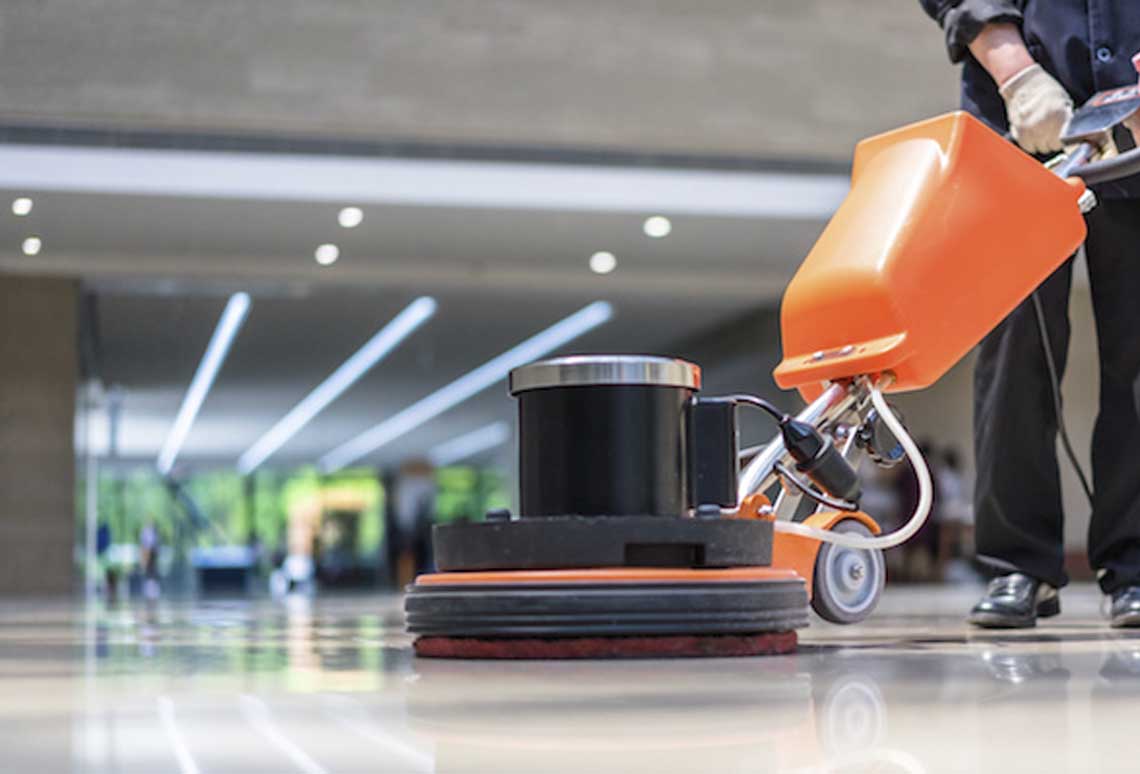
 Commercial Tools Machines
 Power Tools – Cordless
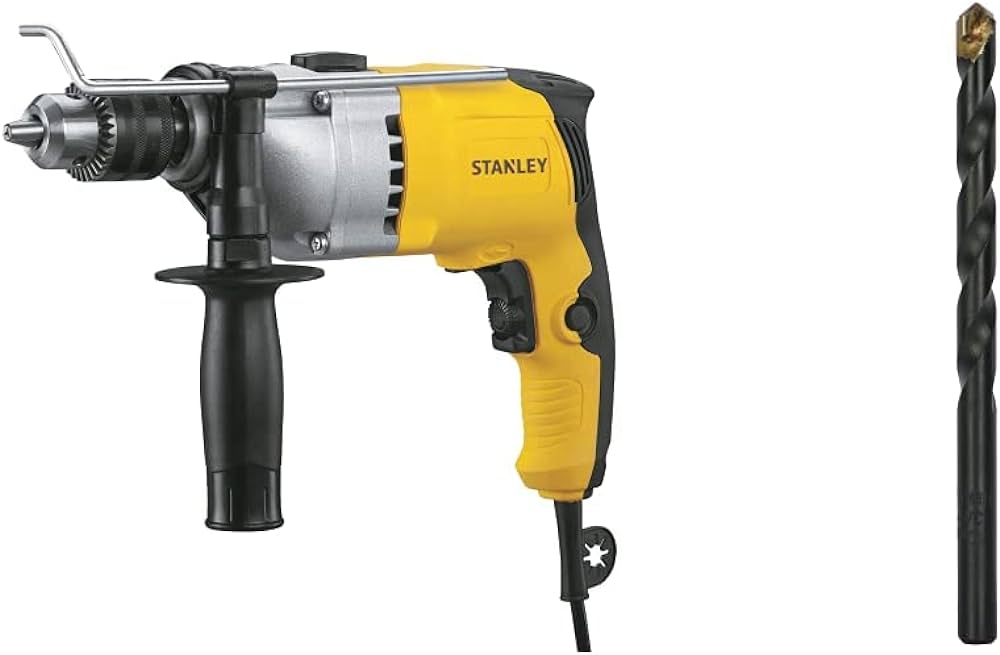 Hand Tools
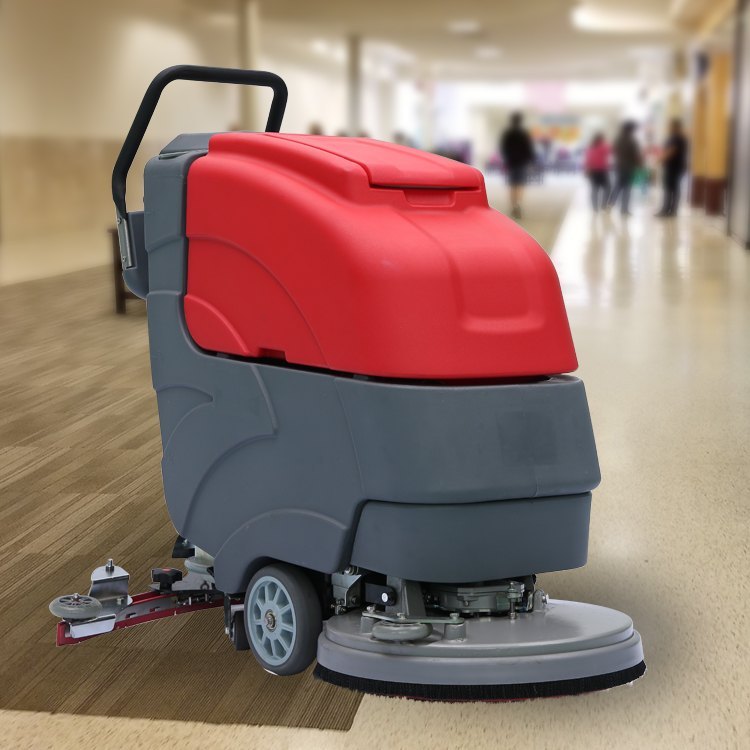 Household Cleaning Machines
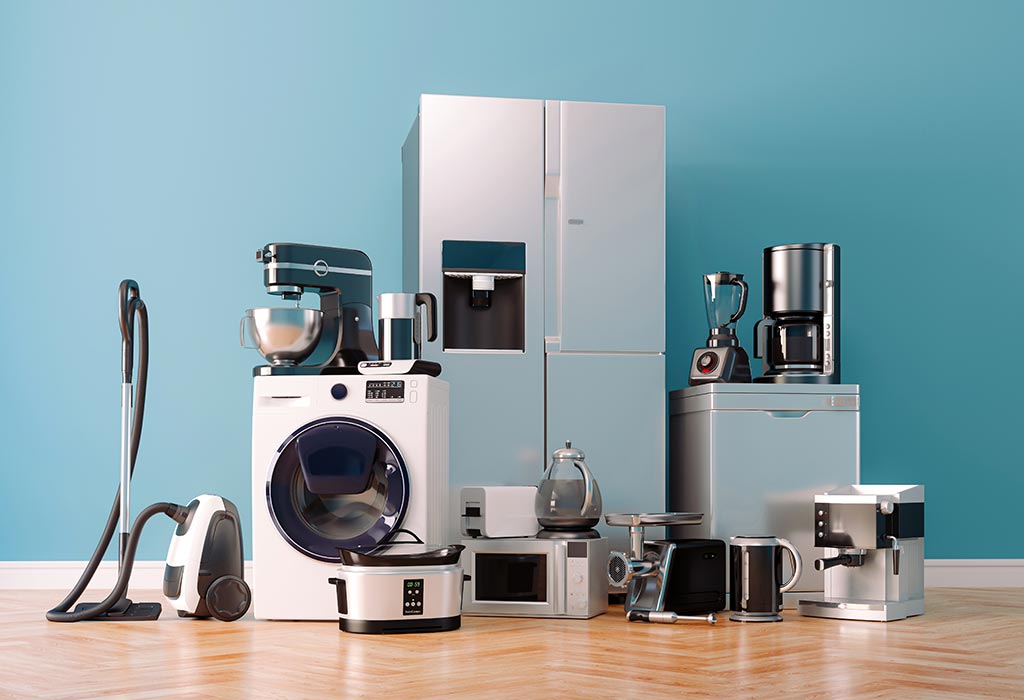 Household Gadgets
 Pneumatic Tools
 Power Tools – Corded Tools
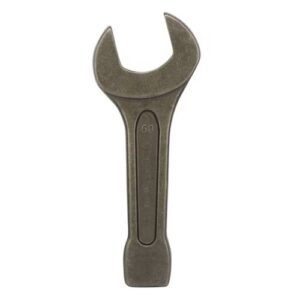
Open End Slogging Spanner Model No: 96-952
0
Original price was: ₹4,693.00.₹3,600.00Current price is: ₹3,600.00.
Overexposed photos can ruin an otherwise perfect shot washing out details and creating harsh highlights. Whether caused by incorrect camera settings or challenging lighting conditions overexposure is a common issue in photography. Fortunately Adobe Photoshop provides powerful tools to recover lost details and restore balance to your images.
In this guide we’ll explore step-by-step techniques to correct overexposure effectively. From adjusting exposure and highlights to using layers and masks you’ll learn how to salvage blown-out areas while maintaining natural-looking results. These methods work for both minor corrections and severe overexposure ensuring your photos look professional.
By mastering these Photoshop tools you’ll gain greater control over your edits and improve your workflow. Let’s dive into the most effective ways to fix overexposed photos and bring back lost details.
For advanced edits consider tools in the Photoshop 2024 cracked version but ensure legal compliance.
The Levels tool in Photoshop provides precise control over brightness and contrast adjustments. Open the Levels dialog by pressing Ctrl+L (Windows) or Cmd+L (Mac) or navigating to Image > Adjustments > Levels.
The histogram in the Levels panel displays the tonal range of the image. The left slider represents shadows the middle slider adjusts midtones and the right slider controls highlights. Drag the left slider inward to darken shadows and increase contrast. Move the right slider inward to reduce overexposed highlights.
Adjust the middle slider to fine-tune midtone brightness. Moving it left brightens midtones while moving it right darkens them. For balanced correction hold Alt (Windows) or Option (Mac) while dragging sliders to preview clipped areas.
Use the Output Levels sliders at the bottom to limit the darkest and brightest values. Lower the white point to soften extreme highlights. Raise the black point to recover lost shadow detail.
For targeted adjustments select specific channels (Red Green Blue) from the drop-down menu. This helps correct color casts while adjusting exposure. Apply changes gradually to maintain natural-looking results.
The Shadows/Highlights adjustment in Photoshop is a powerful tool for restoring lost details in overexposed areas. Unlike basic brightness or contrast adjustments it selectively targets shadows and highlights without affecting midtones.
To use it go to Image > Adjustments > Shadows/Highlights. The default settings provide a quick fix but manual adjustments yield better results. Increase the Highlights amount to recover blown-out details. Lower values work subtly while higher values reveal more texture.
Adjust the Tonal Width to control which highlight ranges are affected. A lower value targets only the brightest areas while a higher value includes midtones. Use the Radius slider to refine edge transitions and avoid unnatural halos.
For precise control enable Show More Options. The Adjustments section allows fine-tuning color correction and midtone contrast. Reduce Color Correction if highlights appear oversaturated.
Apply the adjustment non-destructively by converting the layer to a Smart Object or using an Adjustment Layer via Layer > New Adjustment Layer > Shadows/Highlights.
Overexposed areas lose detail due to excessive brightness. Layer masks and blending modes allow precise corrections without affecting properly exposed regions.
Start by duplicating the base layer (Ctrl+J / Cmd+J). Apply a Levels or Curves adjustment to darken highlights. Hold Alt/Option and click the layer mask icon to create a black mask hiding all adjustments.
Select a soft brush with low opacity (10-30%). Paint with white on the mask to reveal adjustments only in overexposed zones. Use a luminosity mask (Ctrl+Alt+2 / Cmd+Option+2) to target highlights automatically.
Experiment with blending modes. “Multiply” darkens effectively while “Darken” affects only lighter pixels. Reduce layer opacity for subtle results. Combine multiple masked layers for complex corrections.
For blown-out skies add a new layer with sampled blue tones. Set blending mode to “Color” or “Soft Light” and mask the sky area. Adjust opacity to match natural lighting.